To install a transfer switch safely, turn off your main power to prevent shocks, then select an appropriate, UL-listed switch rated for your generator. Follow manufacturer instructions carefully and connect circuits precisely, using proper wire gauges and grounding techniques. Test the system to confirm safe operation and make certain circuits are isolated from utility power. Prioritize adherence to local electrical codes and avoid overloads. If you want to ensure every step is done correctly, there’s more to learn below.
Key Takeaways
- Turn off the main power before beginning installation to prevent electrocution and equipment damage.
- Select a transfer switch rated for your generator’s output and ensure it is UL-listed or certified.
- Properly connect circuits to the transfer switch using appropriate gauge wiring, following manufacturer instructions.
- Ground the system correctly and verify all connections before powering up and testing.
- Follow local electrical codes and perform regular maintenance to ensure ongoing safety and compliance.

Installing a transfer switch is a critical step in guaranteeing your generator can safely power your home during outages. Without it, you risk backfeeding electricity into the utility lines, which can endanger utility workers and your household. Proper installation not only guarantees generator safety but also keeps you compliant with electrical code requirements, which are designed to prevent dangerous wiring mistakes. Before beginning, familiarize yourself with local electrical codes, as these standards specify how the transfer switch should be installed and wired. Ignoring these regulations can lead to fines, insurance issues, or dangerous situations.
Installing a transfer switch ensures safe, code-compliant generator operation during outages.
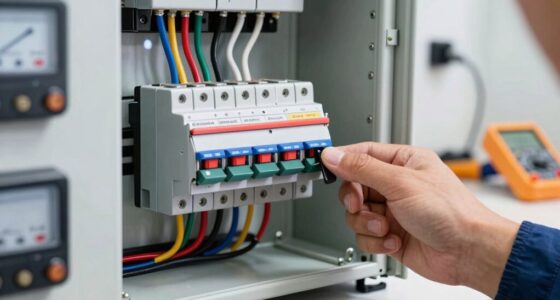
You should always turn off the main power supply before starting installation. This step is essential to prevent accidental electrocution or damage to your electrical system. Next, locate the main electrical panel and choose a suitable spot for your transfer switch—ideally close to your panel for easier wiring and accessible for future maintenance. When installing, follow the manufacturer’s instructions carefully. Use a transfer switch rated for your generator’s power output, and ensure it is UL-listed or certified, which guarantees it meets safety standards.
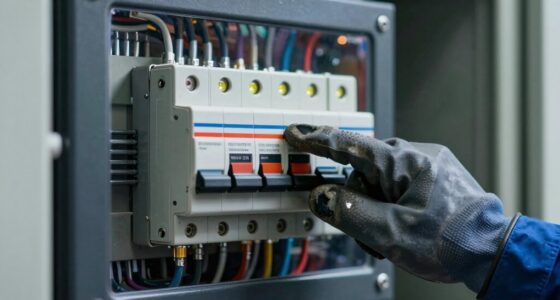
Wiring the transfer switch involves connecting designated circuits from your home’s electrical panel to the switch itself. This process requires precision; incorrect wiring can compromise generator safety or violate electrical code. Make sure to use the appropriate gauge wires and connectors, and double-check all connections before powering up. Once wired, connect your generator to the transfer switch using heavy-duty, outdoor-rated extension cords or the appropriate inlet box. Be cautious not to overload the transfer switch or your generator, as this can cause electrical hazards or damage. Additionally, incorporating proper grounding techniques is essential to prevent electrical shock and ensure system safety.
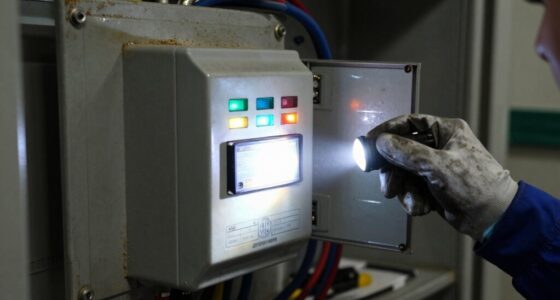
Testing the setup is essential. Turn on the main power and then activate the transfer switch to ensure it properly isolates your household circuits from the utility supply. Test your generator by running it and switching over to the generator power, confirming that your appliances operate safely and smoothly. Regular maintenance and periodic testing are necessary to keep everything functioning correctly and to uphold generator safety standards.

Porch Shield Waterproof Universal Generator Cover 32 x 24 x 24 inch - for Most Generators 5000-10000 Watt, Black
Compatible - More sizes for 5000w -10000w gas generator or inverter generator.
As an affiliate, we earn on qualifying purchases.
Frequently Asked Questions
Can I Install a Transfer Switch Without Professional Help?
You can install a transfer switch yourself, but you must prioritize DIY safety and follow electrical regulations closely. If you’re confident in your electrical skills and understand local codes, proceed carefully, but if you’re unsure or inexperienced, it’s best to hire a professional. Proper installation guarantees safety, prevents electrical hazards, and complies with regulations, so never compromise safety for convenience. When in doubt, consult a licensed electrician to avoid risks.
What Tools Are Needed for Installation?
You’ll need a basic tool checklist for installation, including a screwdriver, wire strippers, pliers, a voltage tester, and possibly a drill. Remember, electrical safety is vital, so make certain the power is off before starting. Use your voltage tester to confirm no current is flowing. Carefully follow safety guidelines and manufacturer instructions to avoid hazards. Proper tools and safety measures make the process safer and more efficient.
How Long Does the Installation Process Typically Take?
You might be surprised, but the transfer switch installation duration usually takes about 2 to 4 hours, depending on your home’s complexity. The installation timeline can vary if you’re experienced or hiring a professional. Factors like wiring complexity or access issues could extend this process. To guarantee safety and efficiency, plan for at least a few hours, and don’t rush—proper installation safeguards your electrical system and peace of mind.
Are There Specific Transfer Switch Models Recommended for Residential Use?
When choosing a transfer switch for residential use, you should look for models compatible with your generator and electrical system. Focus on transfer switch compatibility to guarantee safety and efficiency. Model selection tips include opting for outdoor-rated switches if weather resistance matters and choosing a manual or automatic type based on your needs. Brands like Generac, Reliance, and Eaton are popular, but always verify compatibility before purchasing.
What Safety Precautions Should I Follow During Installation?
You should always prioritize safety during installation by following electrical codes and ensuring personal safety. Wear insulated gloves and safety goggles, turn off the main power before beginning, and double-check all connections. Use proper tools and avoid rushing. Keep the work area dry, stay alert, and follow local regulations. By respecting electrical codes and safeguarding yourself, you make the process safer for everyone involved.
Porch Shield Waterproof Universal Generator Cover 38 x 28 x 30 inch - for Most Generators 5500-15000 Watt, Black
Compatible - More sizes for 5500w -15000w gas generator or inverter generator.
As an affiliate, we earn on qualifying purchases.
Conclusion
Installing a transfer switch is a smart way to keep your home safe during outages, and doing it correctly is essential. Did you know that properly installed transfer switches can reduce electrical hazards by up to 80%? By following safety guidelines, you not only protect your home and loved ones but also guarantee your backup power system works seamlessly when needed. Take your time, stay cautious, and enjoy peace of mind knowing you’re prepared for any storm.
Porch Shield Waterproof Universal Generator Cover 26 x 20 x 20 inch - for Most Generators 3000-5000 Watt, Black
Compatible - More sizes for 3000w -5000w gas generator or inverter generator.
As an affiliate, we earn on qualifying purchases.
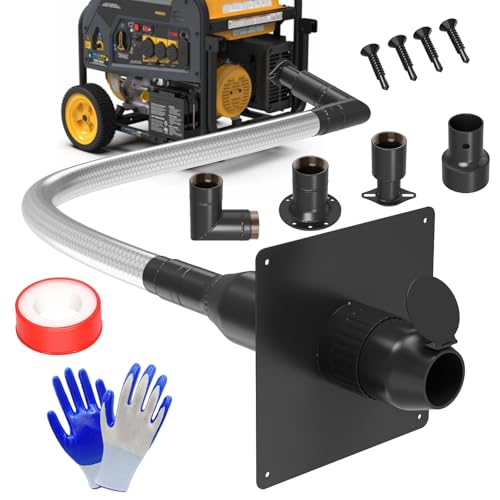
LCGP Generator Exhaust Extension Silencer Kit with Upgraded 304 Stainless Steel Flex Pipe Hose and Muffler Reduce Noise by 50% Three Adapters&Mounting Plate Universally Fit for All Portable Generators
304 Stainless Steel Flex Pipe Hose: LCGP generator exhaust extension kit upgraded with seamless stainless steel flexible pipe...
As an affiliate, we earn on qualifying purchases.