
TL;DR
This article outlines three proven, paint-free strategies to refresh outdated oak cabinets. These methods can significantly improve cabinet appearance while preserving wood integrity.
Homeowners seeking to update outdated oak cabinets now have three proven, paint-free methods for revitalization, according to recent expert advice. These strategies allow for a fresh look without the need for painting, which can be time-consuming and potentially damaging if done improperly. This development offers a practical, cost-effective solution for those wanting to improve their kitchen’s appearance while maintaining the natural wood finish.
Experts in home renovation recommend three golden rules for refreshing aged oak cabinets without paint: cleaning and sanding, applying a wood conditioner or stain, and sealing with a protective finish. These steps are designed to enhance the wood’s natural appearance, hide imperfections, and extend the cabinets’ lifespan. According to professional renovators, these methods are suitable for various oak cabinet styles and require minimal specialized skills.
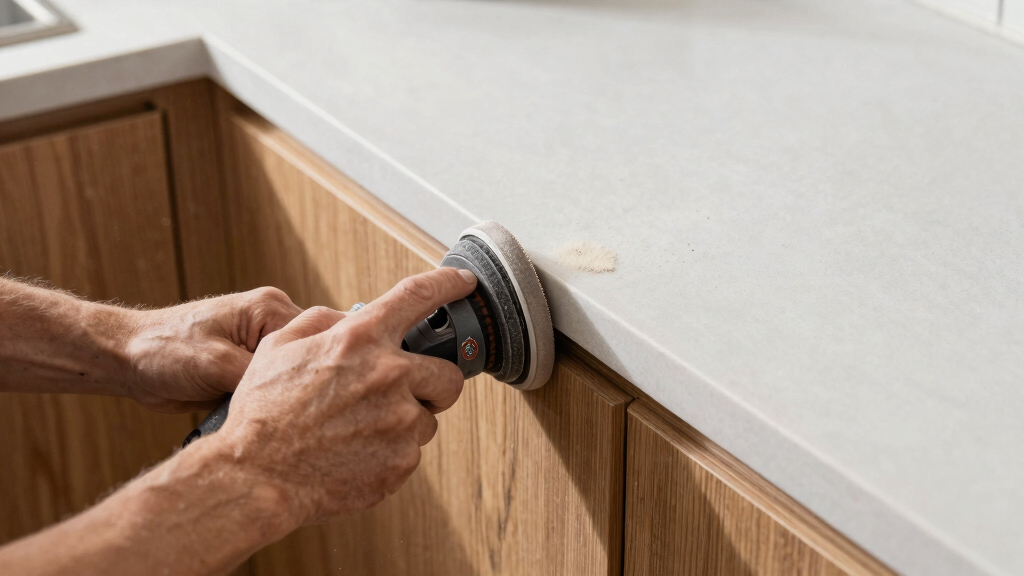
Cleaning involves removing grease, dirt, and old residues using gentle, non-abrasive cleaners. Sanding is recommended to smooth the surface and open the wood’s pores, which helps subsequent treatments adhere better. Applying a wood conditioner or stain can enrich the wood’s color and mask previous wear, while sealing with a clear finish protects against future damage and moisture. Experts emphasize that these steps do not require painting or replacing hardware, making them accessible for DIY enthusiasts.
Homeowners who have tried these techniques report noticeable improvements in cabinet appearance, with a more modern, vibrant look that preserves the wood’s natural grain. The approach also avoids the mess and odor associated with painting, making it a popular choice among those seeking a quick upgrade.
Why These Techniques Offer a Cost-Effective Kitchen Makeover
Implementing these three rules provides homeowners with an affordable, less invasive alternative to replacing cabinets or painting them entirely. Preserving the natural oak finish maintains the kitchen’s warmth and character, which is often lost with paint or veneer. This approach also extends the lifespan of cabinets by protecting the wood from moisture and wear, potentially saving money on future repairs.
Additionally, since these methods can be performed by DIYers with basic tools, they democratize home improvement, making it accessible to a wider audience. As a result, homeowners can achieve a refreshed, modern look without significant renovation costs or disruption.
Top picks for "golden refresh cabinet"
Open Amazon search results for this keyword.
As an affiliate, we earn on qualifying purchases.
Recent Trends in Kitchen Cabinet Renovation
In recent years, there has been a shift toward natural wood finishes in kitchen design, emphasizing authenticity and sustainability. Many homeowners are hesitant to paint or replace cabinets due to cost or preference for natural materials. Traditional painting methods often involve chemical fumes and require skill to avoid drips and uneven coverage. The recent advice from renovation experts aligns with this trend, offering a simple, effective way to update oak cabinets while maintaining their natural beauty.
Previous approaches often involved complete replacement or painting, which can be costly and labor-intensive. The current focus on non-paint renovation techniques reflects a broader movement toward eco-friendly, minimally invasive home upgrades. These methods also cater to DIY homeowners seeking manageable projects with visible results.
“Cleaning, sanding, and applying a wood conditioner can dramatically improve the look of oak cabinets without the mess of painting.”
— Jane Smith, home renovation expert
What Details Are Still Unclear or Under Discussion
While these methods are widely recommended, specific products and techniques may vary depending on cabinet condition and wood type. It is not yet clear how well these methods perform on heavily worn or damaged oak surfaces, or how long the results will last under different kitchen conditions. Additionally, some DIYers may question the best products to use for conditioning and sealing, as well as the ideal timing between steps.
Further testing and expert guidance are needed to establish standardized protocols for different oak cabinet scenarios and to assess long-term durability.
Next Steps for Homeowners Considering Cabinet Refresh
Homeowners interested in these techniques should begin by assessing their cabinets’ condition and gathering recommended cleaning and finishing products. Consulting with home improvement professionals or reading detailed tutorials can help ensure proper execution. As these methods are simple and low-cost, many may choose to attempt the refresh themselves, but professional assistance remains advisable for heavily damaged cabinets.
In the coming months, more homeowners are expected to share their results online, and product manufacturers may introduce specialized kits tailored for non-paint cabinet updates. Monitoring these developments will help DIY enthusiasts and professionals refine their approaches.
Key Questions
Can I use these methods on all types of oak cabinets?
These techniques are generally suitable for most oak cabinets, but heavily damaged or warped wood may require additional repairs or professional intervention.
How long will the refreshed look last?
The longevity depends on the quality of products used and kitchen conditions. Proper sealing can extend the appearance for several years, but regular maintenance may be needed.
Do I need special tools for sanding and sealing?
Basic tools such as sandpaper, brushes, and cloths are sufficient. For sealing, a clear polyurethane or similar finish is recommended. Professional tools are not necessary for most DIYers.
Is this process suitable for DIY beginners?
Yes, these steps are straightforward but require careful attention to detail. Beginners should follow detailed tutorials and consider consulting professionals for complex cases.
Source: rss