
To guarantee your transfer switch is placed for ideal safety and efficiency, assess your critical load needs and site conditions first. Choose a location that’s accessible, dry, and provides proper ventilation and clearance. Plan for easy maintenance, follow local codes, and incorporate proper grounding and cable management. Clear signage and thorough inspections are essential before commissioning. Keep these best practices in mind, and you’ll set up a reliable, safe system that works seamlessly—more insights are just ahead.
Key Takeaways
- Assess site conditions thoroughly to select a location with adequate space, accessibility, and environmental protection.
- Ensure proper clearance and ventilation around the transfer switch to prevent overheating and facilitate maintenance.
- Position the switch for easy access, safety, and future expansion, avoiding obstructions and water exposure.
- Implement clear signage and labeling for quick identification, safety, and troubleshooting.
- Verify grounding and bonding procedures meticulously to ensure safety, code compliance, and system reliability.
Assessing the Critical Load Requirements and Site Conditions
Before installing a transfer switch, you need to evaluate your critical load requirements and the site conditions thoroughly. Start with load prioritization, determining which systems are essential during power outages. This helps avoid unnecessary overloads and ensures reliable operation of critical equipment. Conduct a detailed site evaluation to identify potential obstacles, access points, and environmental factors that could impact installation. Consider proximity to your main panel, available space, and exposure to weather or moisture. Understanding your load needs and site specifics ensures you select the right transfer switch size and type, optimizing safety and functionality. Proper assessment minimizes future issues, streamlines installation, and guarantees your backup power system performs efficiently when needed most. Additionally, integrating security measures such as surveillance cameras or alarm systems can help protect your equipment during outages and installation.
Selecting the Optimal Location for Accessibility and Safety

Choosing the right location is vital for easy access and safety. Make sure there are clear pathways around the transfer switch to prevent accidents during operation or maintenance. Elevating the switch can also help protect it from water or debris, ensuring reliable performance. Additionally, considering future AI-driven automation may influence placement to facilitate remote monitoring and control. AI-driven automation
Clear Pathways Ensure Safety
Ensuring clear pathways around your transfer switch is essential for safety and ease of access. You want enough space to quickly operate the switch during an emergency without obstacles. Keep the area free of clutter and ensure the floor is even to prevent trips. When wiring, select the correct wire gauge to handle the load safely, preventing overheating or shorts. Use color coding on wires to easily identify circuits and connections, reducing errors during maintenance or emergencies. Clear pathways also help inspectors and service technicians perform inspections swiftly and safely. Avoid tight corners or cramped spots that hinder movement. Proper placement with unobstructed access guarantees you can operate the switch confidently and safely, minimizing risks and ensuring quick response times in critical moments. Incorporating active listening and empathy into safety procedures ensures clear communication and understanding during emergencies, enhancing overall safety.
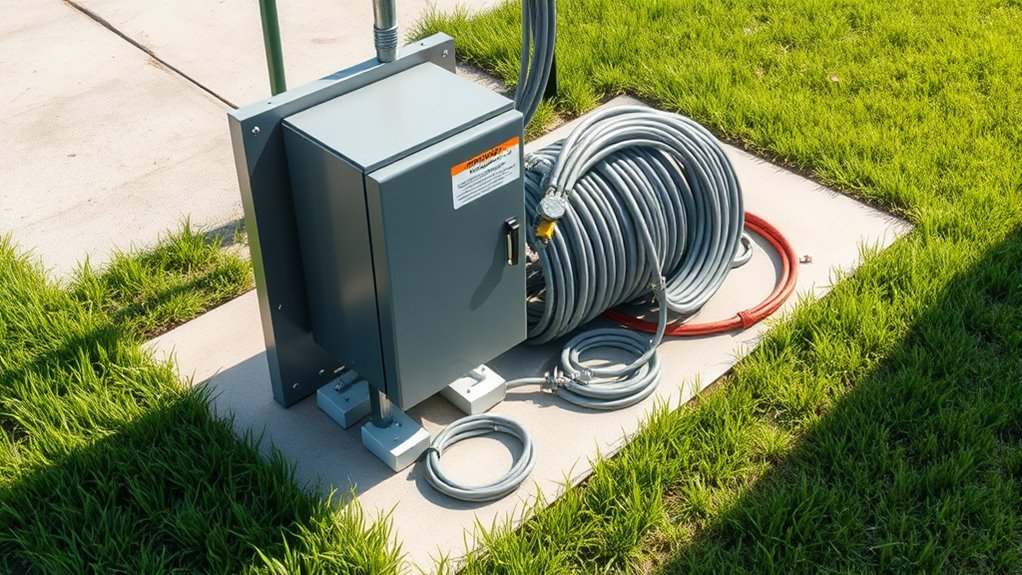
Elevated Placement for Accessibility
Placing your transfer switch at an elevated height can considerably improve accessibility and safety. Elevated switch positioning allows for easier operation during emergencies, reducing strain and minimizing hazards. When selecting the location, consider grounding techniques to ensure proper safety and electrical performance. Proper grounding helps prevent electrical shocks and protects your system. Additionally, an accessible height makes routine inspections and maintenance simpler, encouraging regular checks on switch functionality. Make sure the switch is positioned away from moisture and debris, and verify that it remains within reach without compromising safety. An elevated placement also minimizes accidental damage and interference, especially in busy or cluttered areas. Incorporating wall organization solutions can further keep the area neat and accessible. Overall, strategic switch positioning enhances both convenience and safety, ensuring your transfer switch is reliable when you need it most.
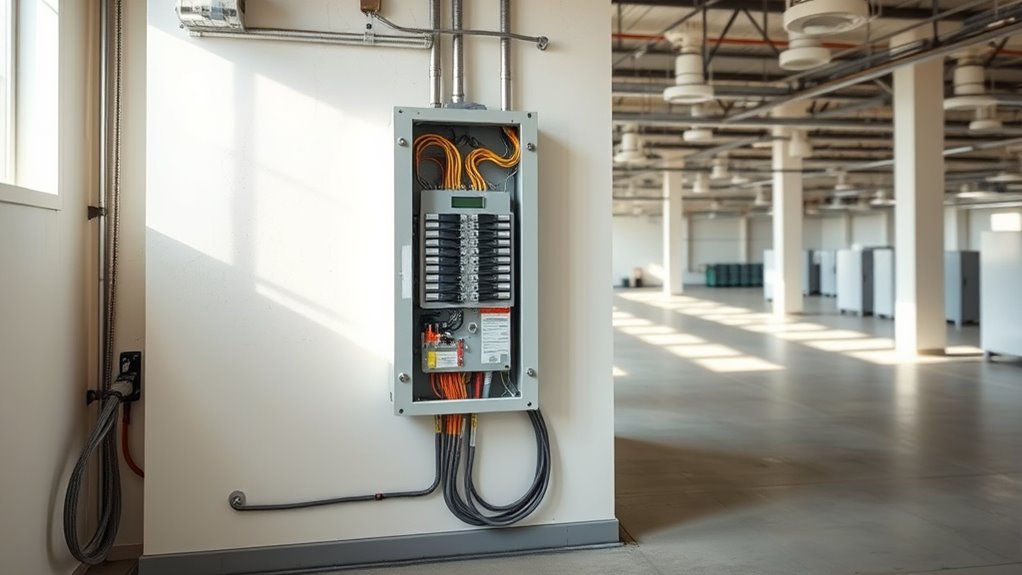
Ensuring Proper Ventilation and Clearance Around the Switch
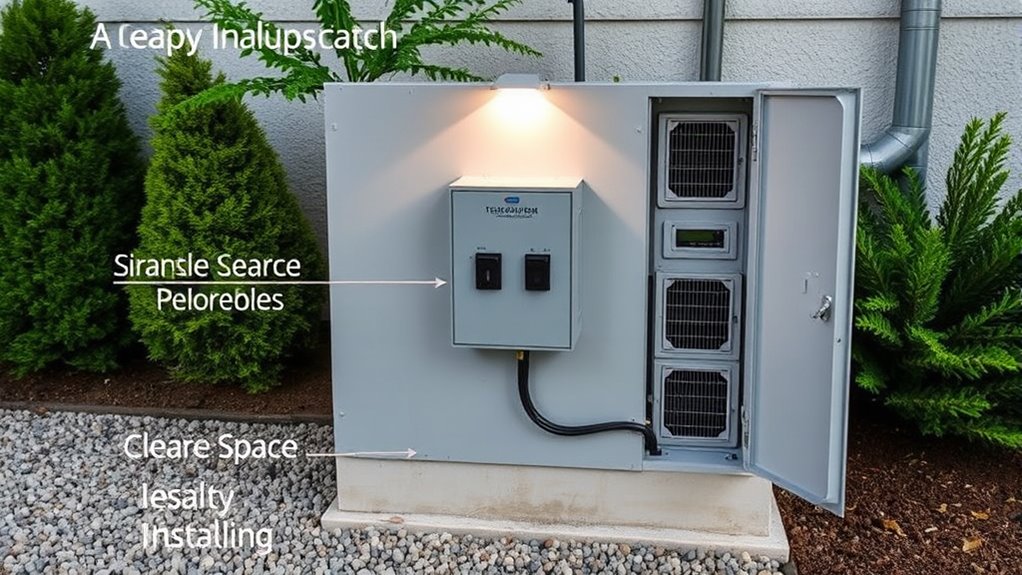
Proper ventilation and adequate clearance around the transfer switch are crucial to prevent overheating and guarantee safe operation. Meeting ventilation requirements ensures that heat generated during operation dissipates effectively, reducing the risk of equipment failure. Follow clearance guidelines to allow easy access for inspections, maintenance, and emergency shutdowns. Typically, you should maintain at least 3 feet of clearance in front of the switch and sufficient space around all sides for airflow. Avoid placing the switch in enclosed or tightly confined areas, as poor ventilation can lead to overheating. Regularly check ventilation openings for obstructions, and ensure nothing blocks airflow. Ensuring proper tuning and upgrades helps prolong the switch’s lifespan and maintains safe, reliable performance during power transitions.
Planning for Convenient Maintenance and Future Expansion
Planning for convenient maintenance and future expansion starts with selecting a location that allows easy access for technicians and equipment upgrades. You should position the transfer switch where you can clearly see and reach all components without obstacles. Incorporate color coding on wiring and labels to streamline troubleshooting and repairs. Weatherproofing is essential, especially if the switch is outdoors; ensure it’s protected from rain, snow, and debris to minimize downtime. Consider future expansion when planning the layout—leave space for additional circuits or equipment upgrades without significant rework. Easy access, proper labeling, weatherproofing, and thoughtful spacing ensure maintenance stays quick and straightforward, saving you time and money in the long run. Proper planning helps your system stay reliable and adaptable for years to come. Additionally, consulting whole-house system guidance can assist in optimizing placement for both safety and efficiency.
Incorporating Code Compliance and Local Regulations

Ensuring your transfer switch installation complies with local codes and regulations is essential to avoid legal issues, fines, and safety hazards. Staying updated on electrical code updates helps you meet current standards, reducing risks. Additionally, understanding local permitting processes guarantees your project moves smoothly. Here are key steps: 1. Research recent electrical code updates specific to your area. 2. Contact local authorities to clarify permitting requirements. 3. Obtain all necessary permits before installation. 4. Schedule inspections as required to verify compliance. Incorporating AI-driven data analytics can assist in staying informed about evolving code standards and compliance requirements.
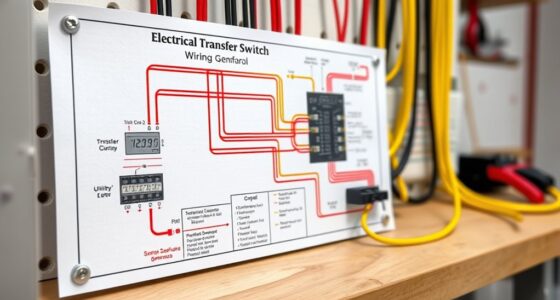
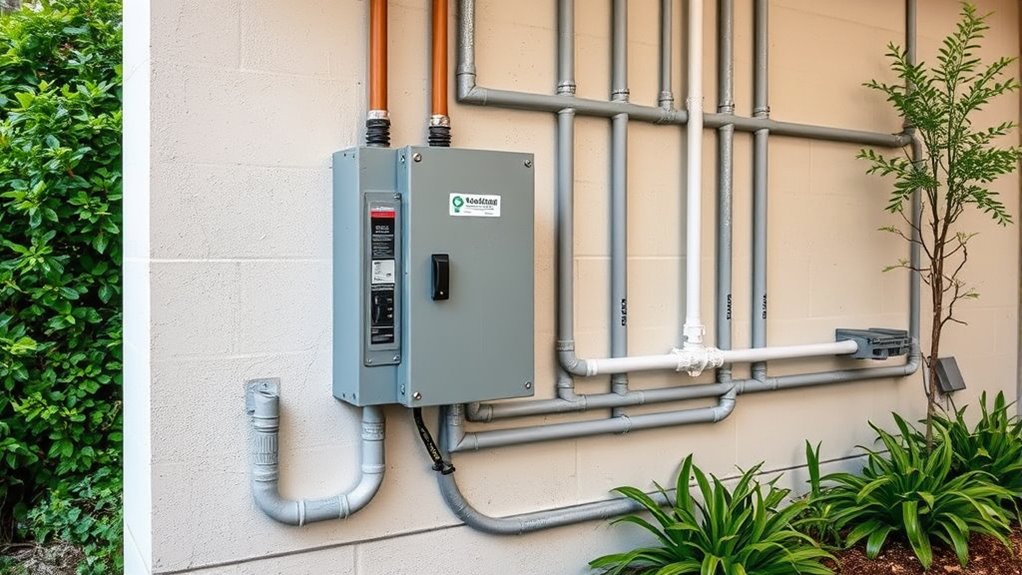
Considering Power Routing and Cable Management
When installing your transfer switch, giving careful thought to power routing and cable management can prevent future issues and make maintenance easier. Plan your wiring paths to avoid clutter and ensure easy access for troubleshooting or upgrades. Use cable ties and conduits to keep cables organized and protected. Consider wireless monitoring options to reduce the need for extensive wiring, enhancing aesthetic integration by maintaining a clean look. Proper routing minimizes interference and voltage drops, improving system reliability. Keep cables away from heat sources and moving parts to prevent damage. Thoughtful management also simplifies troubleshooting and future expansions. Additionally, understanding the importance of proper cable management can significantly impact the safety and longevity of your installation. Ultimately, clean, well-organized wiring enhances safety, minimizes downtime, and creates a professional, unobtrusive installation that blends seamlessly into its environment.
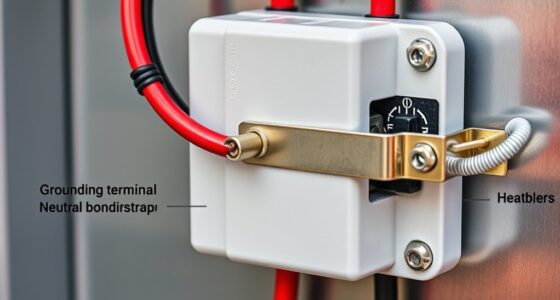
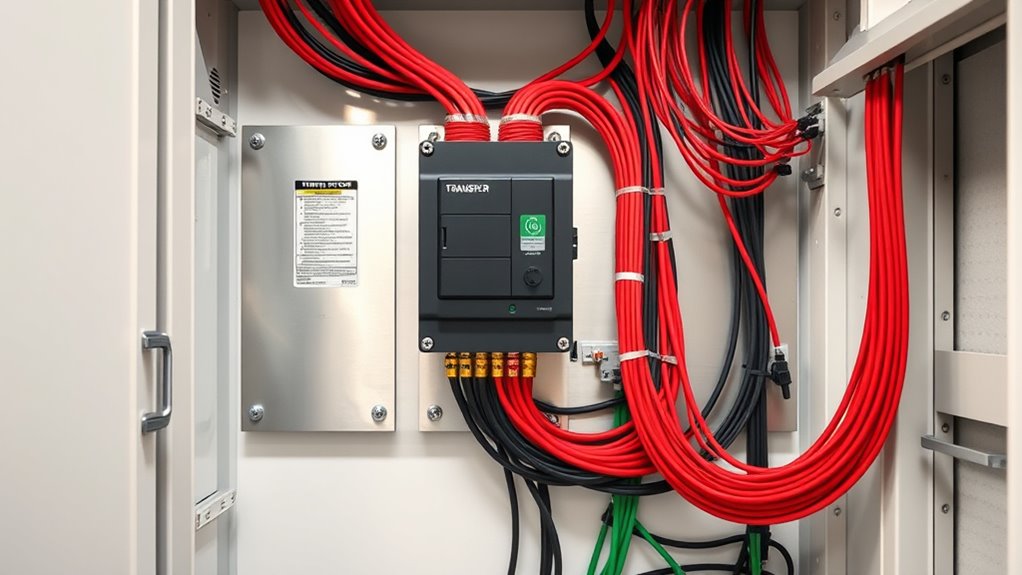
Verifying Grounding and Bonding Procedures

You need to confirm that all grounding connections are secure and properly installed. Check the bonding jumpers to make sure they’re correctly positioned and intact. Finally, verify that the grounding electrode is properly connected to provide a reliable safety path. Additionally, ensure that the grounding system complies with local electrical standards and appropriate connector types to guarantee compatibility and safety.
Confirm Grounding Connections
Verifying grounding and bonding procedures is a crucial step in confirming proper transfer switch placement. To guarantee safety and compliance, double-check these connections. First, inspect the grounding wire to confirm it’s securely attached to the transfer switch and grounded system. Second, verify that the bonding jumper is correctly installed between the transfer switch and the equipment enclosure. Third, ensure all grounding connections are tight and free of corrosion. Fourth, confirm that the grounding wire is properly connected to the building’s grounding system, following local codes. Proper grounding reduces electrical shock risks and prevents equipment damage. Additionally, understanding Glycolic Acid Benefits for Skin can help appreciate the importance of maintaining correct connections for safe electrical systems. By systematically reviewing these connections, you ensure the transfer switch functions safely and reliably, keeping your system compliant and protected.
Check Bonding Jumpers
Checking the bonding jumpers is a vital step to guarantee your transfer switch is correctly grounded and bonded. You should verify that bonding jumpers connect the transfer switch’s metal parts to the grounding conductors properly. Proper bonding ensures a safe path for fault currents and reduces shock risks. Use a visual inspection and test with a continuity tester to confirm connections.
| Component | Connection Status |
|---|---|
| Bonding jumpers | Securely attached |
| Grounding conductors | Properly connected |
| Metal transfer switch parts | Bonded to grounding system |
Ensure all bonding jumpers are tight, intact, and correctly positioned. This step guarantees your grounding system functions effectively and complies with safety standards.
Verify Grounding Electrode
Before energizing the transfer switch, verify the grounding electrode system is properly installed and connected. This guarantees a solid foundation for safe operation. Here’s what you need to do:
- Confirm the grounding electrode is correctly bonded to the service equipment using proper bonding procedures.
- Check that the grounding electrode conductor is securely attached to the grounding electrode, such as a rod or water pipe.
- Inspect for corrosion or damage along the grounding electrode and conductor.
- Ensure all connections meet local codes and manufacturer recommendations.
Implementing Clear Signage and Labeling Systems
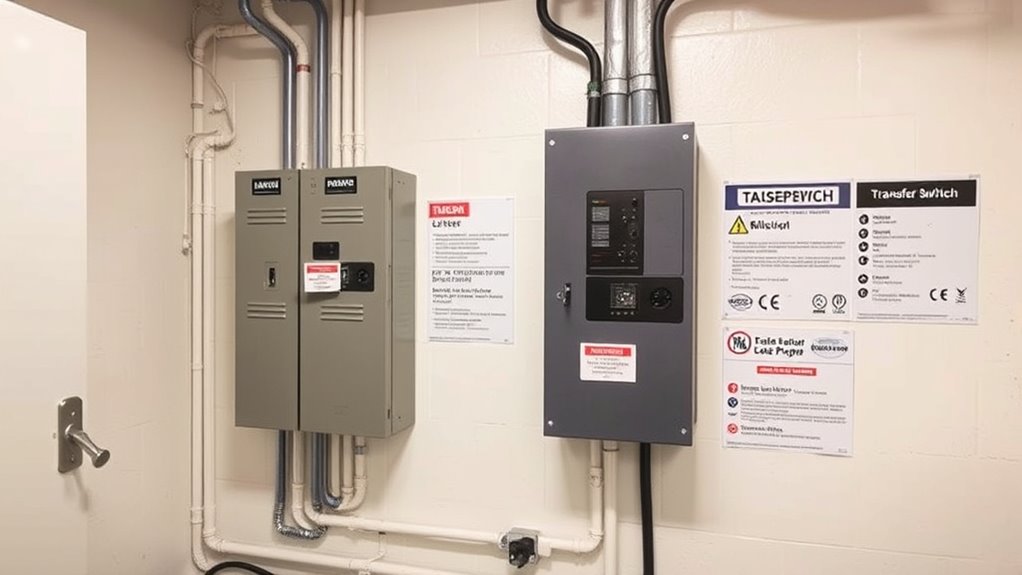
Clear signage and labeling systems are essential for guaranteeing safe and efficient transfer switch operation. Using consistent color coding helps quickly identify switch functions, power sources, and emergency circuits, reducing confusion during emergencies or maintenance. Adhere to established labeling standards to ensure clarity and uniformity across your setup. Proper labels should clearly indicate switch purpose, voltage levels, and circuit details, making troubleshooting straightforward. Position signs where they are easily visible and resistant to environmental factors like dust, moisture, or heat. Well-designed signage minimizes errors during operation and enhances safety for everyone working near the transfer switch. By implementing clear, standardized labeling and color coding, you streamline processes, improve communication, and reduce the risk of accidents or misoperation.
Conducting Final Inspection and Testing Before Commissioning

Conducting a thorough final inspection and testing guarantees that your transfer switch operates safely and reliably before it goes into service. To ensure this, follow these steps:
Thorough final inspections ensure your transfer switch operates safely and reliably before use.
- Review all testing procedures, confirming each step aligns with manufacturer and code requirements.
- Verify electrical connections are secure, properly labeled, and free of damage.
- Conduct operational tests, switching loads between power sources to confirm seamless transfer.
- Document everything meticulously, including test results, observations, and any issues encountered, focusing on documentation essentials.
This process helps catch potential issues early, ensuring safety and functionality. Proper testing procedures and thorough documentation essentials are key to a smooth commissioning process, giving you confidence that your transfer switch will perform reliably when needed.
Frequently Asked Questions
How Do Environmental Factors Influence Transfer Switch Placement Decisions?
Environmental factors substantially influence your transfer switch placement decisions because hazards like moisture, extreme temperatures, or debris can cause damage or malfunction. You need to take into account placement challenges such as accessibility, exposure to weather, and potential flooding risks. By choosing a location protected from environmental hazards and ensuring easy access for maintenance, you improve reliability, safety, and compliance with best practices, ultimately ensuring your transfer switch functions seamlessly during power outages.
What Are Common Mistakes to Avoid During Transfer Switch Installation?
When installing a transfer switch, avoid poor transfer switch accessibility and wiring complexity. Make certain the switch is easy to reach for maintenance and emergency use, preventing future delays. Keep wiring straightforward by following clear wiring diagrams, avoiding unnecessary complexity that can cause errors or safety issues. Also, don’t neglect proper grounding and secure connections, which are vital for safe operation. These mistakes can lead to system failures or safety hazards down the line.
How Can I Ensure Future Upgrades Won’t Require Extensive Rework?
To guarantee future upgrades don’t require extensive rework, you should prioritize transfer switch accessibility and plan for future upgrades during initial installation. Place the switch in an easily accessible location, avoiding tight spaces or obstructions. Incorporate extra conduit runs and space for additional connections. Regularly consult with your electrician to anticipate evolving needs, and document your setup thoroughly, making future modifications smoother and more efficient.
What Safety Considerations Should Be Prioritized During Installation?
Like a trusty sidekick, prioritize grounding safety to prevent electrical shocks and guarantee proper equipment clearance to avoid overheating. You should double-check that the transfer switch is installed away from moisture and obstructions, maintaining manufacturer-specified distances. Always turn off power before installation, wear appropriate PPE, and verify grounding connections. These steps protect you and your equipment, making safety the top priority during installation.
How Does Transfer Switch Placement Impact Overall System Reliability?
You’ll see that proper transfer switch placement directly boosts system reliability by minimizing risks of power surges and guaranteeing equipment compatibility. When installed correctly, it reduces the chance of electrical faults and system downtime, keeping your power supply steady during outages. Strategic placement also allows easier maintenance and upgrades, which further enhances overall system dependability. Ultimately, thoughtful positioning ensures your setup operates efficiently and safely under various conditions.
Conclusion
By carefully planning your transfer switch placement, you’ll not only meet safety standards but also prevent future headaches. When everything aligns—from site conditions to proper labeling—you might find that the most overlooked details often make the biggest difference. It’s almost as if the right location and thoughtful design come together by chance, ensuring your system runs smoothly when you need it most. So, trust the process, and let good placement be your silent safeguard.