To quickly maintain your generator’s ventilation and clearances, start by inspecting vents for dust or debris and clean them with compressed air or a brush. Remove any obstructions around the unit, ensuring at least 3 feet of clearance on all sides. Tighten loose vents and ducts, and verify they sit properly. Finally, test the airflow to confirm proper ventilation. Keep these steps in mind and you’ll enhance safety and efficiency — learn more to master the details.
Key Takeaways
- Inspect and clean vents with compressed air or a brush to remove dust and debris quickly.
- Clear surrounding area of debris, leaves, and objects blocking airflow within 3 feet.
- Tighten all vent, duct, and clamp connections to prevent leaks and improve ventilation efficiency.
- Check clearance distances from structures, ensuring at least 3 feet of free space around the generator.
- Perform a quick airflow test by listening for proper exhaust dispersal and verifying ventilation components function correctly.

Porch Shield Waterproof Universal Generator Cover 32 x 24 x 24 inch - for Most Generators 5000-10000 Watt, Black
Compatible - More sizes for 5000w -10000w gas generator or inverter generator.
As an affiliate, we earn on qualifying purchases.
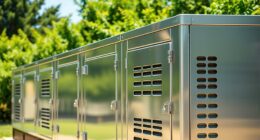
Inspect and Clear Ventilation Outlets
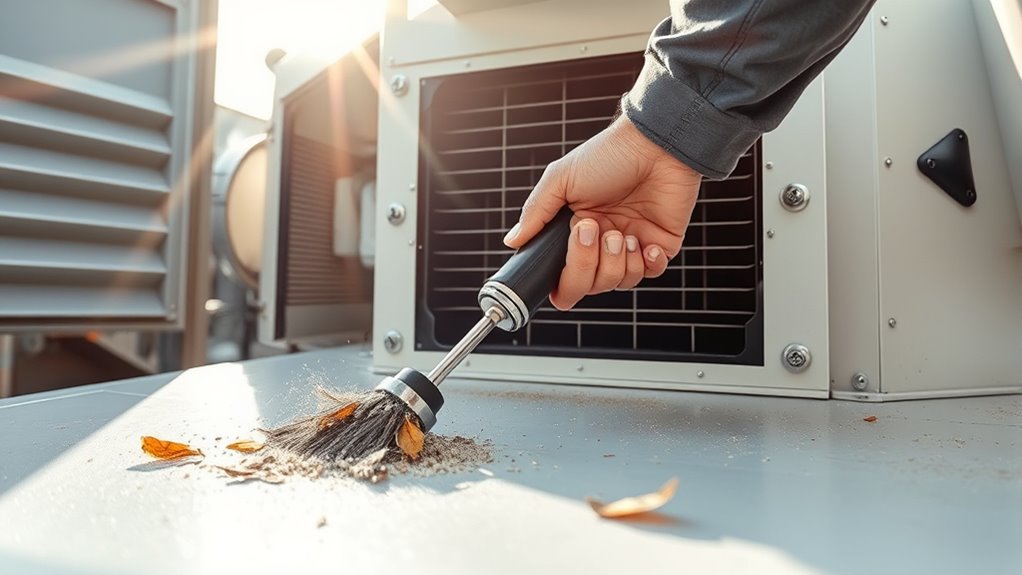
To guarantee proper ventilation and safe operation, you should regularly inspect and clear your generator’s ventilation outlets. This step is crucial for airflow enhancement, preventing overheating, and reducing the risk of dangerous fumes accumulating. Start by examining all vents for dust, debris, or buildup that could block airflow. Use a brush or compressed air to remove obstructions carefully, ensuring nothing impedes exhaust flow. Adhere to safety protocols by disconnecting the generator from power sources before cleaning. Proper ventilation allows heat and gases to escape efficiently, maintaining ideal performance. Regular inspections not only improve airflow but also help you identify potential issues early, avoiding costly repairs. Being aware of potential skin irritation caused by certain ingredients in some eye patches can help you select suitable products, especially if you have sensitive skin. Incorporating these simple steps into your routine ensures your generator operates safely and reliably.
Porch Shield Waterproof Universal Generator Cover 38 x 28 x 30 inch - for Most Generators 5500-15000 Watt, Black
Compatible - More sizes for 5500w -15000w gas generator or inverter generator.
As an affiliate, we earn on qualifying purchases.
Check and Remove Obstructions Around the Generator
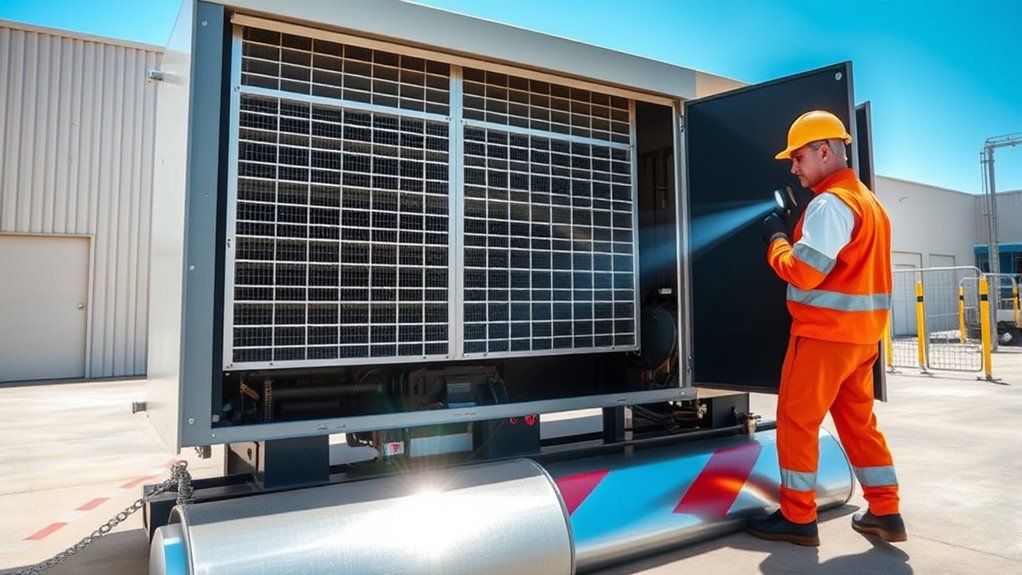
Regularly checking the area around your generator helps prevent obstructions that could block airflow or cause overheating. Clear debris, leaves, and any items that might hinder ventilation. Ensure nothing is blocking the air intake or exhaust vents. Also, inspect the fuel level to avoid shortages during operation, and check oil quality to prevent engine damage. Here’s a quick reference:
| Action | Details |
|---|---|
| Remove Obstructions | Clear debris, tools, or stored items |
| Check Fuel Level | Keep fuel above minimum requirement |
| Inspect Oil Quality | Ensure oil is clean and at proper level |
| Maintain Clearance | Keep at least 3 feet radius around |
Staying on top of these simple checks guarantees your generator runs smoothly and safely. Maintaining proper ventilation is essential to prevent overheating and ensure efficient operation.
Porch Shield Waterproof Universal Generator Cover 26 x 20 x 20 inch - for Most Generators 3000-5000 Watt, Black
Compatible - More sizes for 3000w -5000w gas generator or inverter generator.
As an affiliate, we earn on qualifying purchases.
Tighten and Verify Ventilation Components
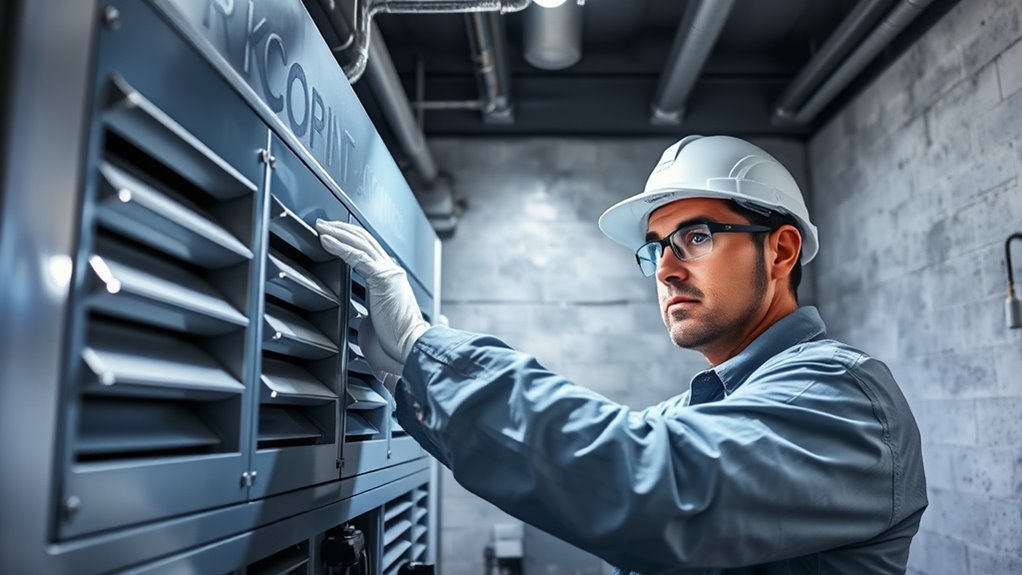
Since ventilation components can loosen over time due to vibrations, it’s important to tighten all vents, ducts, and clamps regularly. Proper component securing ensures maximum airflow and prevents leaks that could hinder ventilation efficiency. Start by inspecting all connections for looseness or gaps. Use the appropriate tools to tighten fasteners securely, avoiding over-tightening that could damage components. Verify that vents and ducts are properly aligned and seated, ensuring unobstructed airflow for effective cooling and ventilation. Securing these components not only maintains airflow enhancement but also reduces noise and vibration issues. Regular inspection according to fire safety standards can prevent potential hazards. Take a moment to double-check all clamps and fittings, making sure everything is tight and stable. This quick, focused step helps keep your generator running safely and efficiently.

GenArmor Generator Covers While Running, 100% Waterproof Heavy Duty Tarps Generator Tent, Portable Outdoor Generator Enclosure for Most 4000w~13000w Generators, Black, Standard
100% Waterproof Protection: A patented innovation from GenArmor independent design lab, ensuring the safety of your generator covers...
As an affiliate, we earn on qualifying purchases.
Ensure Adequate Clearance Distance From Structures
Maintaining adequate clearance between your generator and surrounding structures is essential for safe operation and proper ventilation. Proper clearances help prevent fire safety hazards, reduce heat buildup, and ensure effective airflow. They also minimize noise transmission, contributing to noise reduction in nearby areas. To optimize these benefits, keep these points in mind:
- Maintain at least 3 feet of clearance on all sides of the generator
- Ensure vents are unobstructed and free from debris
- Position the generator away from combustible materials
- Avoid placing it near windows or vents that could spread heat or fumes
- Use barriers or enclosures to further lessen noise without compromising ventilation
- Regularly inspect and maintain ventilation systems to ensure optimal airflow and safety
Test Ventilation System Functionality

To guarantee your generator’s ventilation system is functioning properly, you should perform a thorough test regularly. Start by checking airflow enhancement, ensuring air moves freely through vents and ducts. Listen for unusual noises and observe exhaust dispersal to identify potential blockages or leaks. Use system diagnostics tools, if available, to monitor airflow sensors and ventilation controls. Confirm that all fans and exhaust fans operate correctly and respond to system signals. Test alarms or warning indicators that alert you to ventilation issues. Record your findings, noting any irregularities. Regular testing helps catch problems early, ensuring your system performs ideally during power outages. Proper airflow and system diagnostics are key to maintaining a safe, efficient ventilation system for your generator. Understanding industry trends can also help you stay ahead of common ventilation challenges and improvements.
Frequently Asked Questions
How Often Should Generator Ventilation Maintenance Be Performed?
You should perform generator ventilation maintenance at least every three to six months, depending on your ventilation system’s usage and environment. Regularly inspecting and cleaning the ventilation system helps prevent buildup of dust and debris, ensuring proper airflow and safety. Follow your maintenance schedule closely to keep your generator running efficiently and to avoid costly repairs. Consistent upkeep guarantees ideal ventilation, protecting your equipment and maintaining safety standards.
What Tools Are Recommended for Quick Ventilation Checks?
Did you know that proper ventilation can improve generator efficiency by up to 15%? For quick checks, you should use airflow sensors and ventilation gauges. These tools help you instantly assess airflow and identify blockages or leaks. Keep a digital or analog ventilation gauge handy, along with handheld airflow sensors, so you can perform fast, accurate evaluations and guarantee your generator’s ventilation system stays optimized and safe.
Are There Safety Precautions Before Starting Maintenance?
Before you start maintenance, make certain you’re wearing appropriate safety gear like gloves, goggles, and ear protection. Follow lockout procedures to disconnect power and prevent accidental startup. Check that ventilation pathways are clear to avoid buildup of harmful gases. Always inspect for hazards, confirm your tools are in good condition, and communicate with team members. Taking these precautions keeps you safe and ensures smooth, efficient maintenance.
Can Ventilation Issues Cause Generator Shutdowns or Damage?
Ventilation issues can choke your generator’s lifeline, causing shutdowns or damage that feels like a silent storm. Poor airflow and insufficient exhaust clearance trap heat and fumes, risking overheating and costly repairs. When ventilation isn’t maintained, your generator struggles to breathe, risking failure when you need it most. Ensuring proper airflow and clear exhaust pathways keeps your power source resilient, guarding against unseen chaos and ensuring reliable operation.
What Signs Indicate Ventilation System Failure or Inefficiency?
You’ll notice airflow restrictions, such as reduced airflow or overheating, which signal ventilation issues. Filter blockages can cause increased temperatures and decreased efficiency. Unusual noises, persistent alarms, or frequent shutdowns also indicate ventilation system failure or inefficiency. Regularly checking filters and airflow pathways helps catch these signs early, ensuring your generator operates smoothly and avoids potential damage caused by poor ventilation.
Conclusion
Think of your generator’s ventilation like the lungs of a busy city—clear, unobstructed airflow keeps everything running smoothly. With just 15 minutes, you clear the smog and debris that block its breath, ensuring it can work efficiently and safely. Regular maintenance is your city’s health check, preventing unexpected breakdowns. Keep the pathways open and the air flowing freely, and your generator will serve as steadfastly as a well-tended metropolis, ready to power through any storm.