To master low voltage output causes quickly, start by understanding how voltage works and why stability matters. Learn the common issues like faulty batteries, wiring problems, or defective regulators that cause voltage drops. Focus on key components and how resistance in circuits affects voltage levels. Use measurement tools like multimeters to diagnose voltage drops and resistances. Implement simple troubleshooting strategies, then explore preventive steps to keep voltage steady. Keep going, and you’ll uncover more tips to sharpen your expertise fast.
Key Takeaways
- Study the factors influencing voltage stability, including power supply health, wiring quality, and voltage regulator conditions.
- Learn resistance measurement techniques at key circuit points to identify faults causing voltage drops.
- Understand troubleshooting steps like testing batteries, inspecting connections, and monitoring voltage fluctuations.
- Familiarize yourself with preventive maintenance practices to avoid common low voltage issues.
- Use online resources and glossaries to quickly grasp technical terms related to low voltage causes and diagnostics.
Understanding Voltage and Its Importance
Voltage is the driving force that pushes electrical current through a circuit, making it essential for any electronic device to operate properly. Without stable voltage, your devices can experience issues like flickering screens or unexpected shutdowns. Voltage stability is crucial because it ensures consistent power delivery, preventing power fluctuations that can damage components or reduce performance. When voltage varies unexpectedly, it can cause stress on circuits, leading to premature failure or malfunction. Understanding the importance of voltage helps you recognize how vital a stable power supply is for smooth operation. By maintaining proper voltage levels and preventing fluctuations, you can protect your electronics and ensure they perform reliably over time. Recognizing the impact of voltage fluctuations is the first step toward troubleshooting low voltage output problems effectively.
Common Causes of Low Voltage Output

Low voltage output often stems from issues with your power supply, wiring, or components. Faulty connections or damaged regulators can also cause voltage drops, affecting performance. Identifying these common causes helps you troubleshoot effectively and restore proper voltage levels. For Honda vehicles, ECU tuning can sometimes influence voltage stability, especially if the ECU is not properly calibrated or has issues.
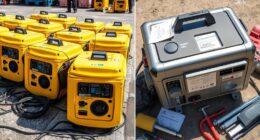
Power Supply Issues
Power supply issues are a common culprit behind insufficient voltage output, often stemming from component failures or inadequate design. Poor battery maintenance can cause voltage drops, as corroded or depleted batteries struggle to deliver consistent power. Regularly check and maintain your batteries to guarantee they’re in good condition. Additionally, inverter selection plays a vital role; using an inverter with insufficient capacity or poor quality can result in voltage sag. Make sure your inverter matches your power needs and is rated for continuous operation. Faulty or aging power supplies can also cause voltage fluctuations, so replacing or upgrading your power units might be necessary. Proper monitoring and testing of your power system can help identify issues early. By focusing on proper battery maintenance and choosing the right inverter, you can considerably reduce power supply-related issues and achieve a stable, low-voltage output.
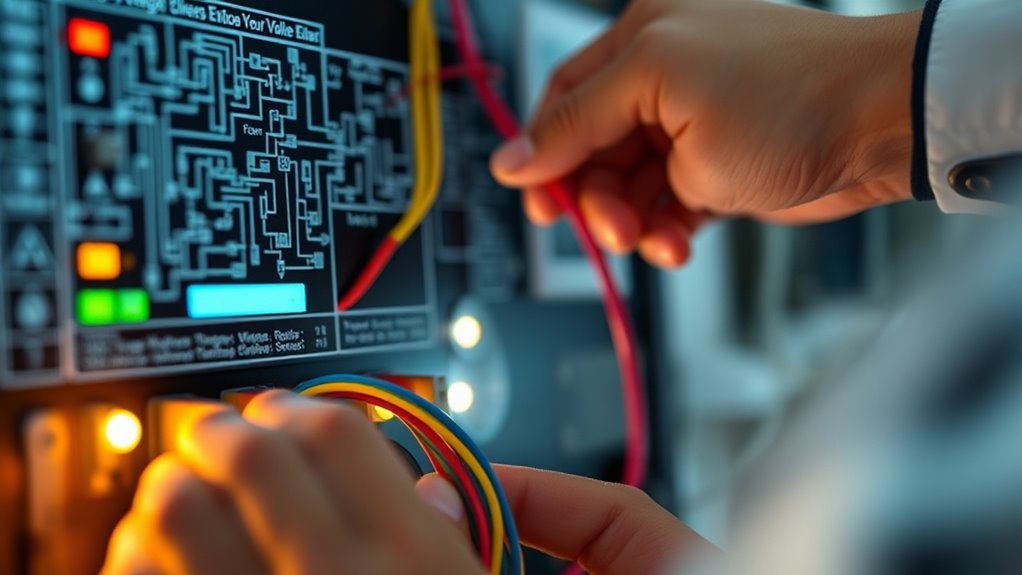
Wiring and Connections
Wiring and connections are often overlooked but critical factors that can cause voltage drops in your system. Poor connections, loose terminals, or corroded contacts increase resistance and reduce voltage output. Ground loops are another common issue, creating unintended current paths that can lead to voltage fluctuations and instability. Ensuring proper grounding practices helps prevent these problems. Additionally, insulation resistance matters—if insulation degrades or is damaged, it can cause leakage currents or short circuits, lowering voltage levels. Carefully inspect all wiring for secure connections and signs of wear. Use quality, insulated cables and avoid unnecessary ground loops. Proper wiring and connections are essential for maintaining consistent voltage output, so take the time to verify every connection and grounding point regularly.
Faulty Voltage Regulators
Faulty voltage regulators are a common cause of low voltage output because they fail to maintain the correct voltage levels in your system. When a regulator malfunctions, it compromises voltage stability, causing fluctuations or drops that disrupt your device’s operation. Often, the issue stems from poor regulator calibration or wear over time. If the regulator isn’t properly calibrated, it can’t deliver consistent voltage, leading to low output. You should check for signs like overheating, frequent shutdowns, or erratic voltage readings. Replacing or recalibrating the regulator can restore proper voltage levels. Ensuring the regulator functions correctly is vital for maintaining voltage stability and preventing damage to connected components. Regular maintenance and calibration help avoid these low voltage issues caused by faulty regulators. Additionally, AI vulnerabilities in safety measures could impact the reliability of automated testing and diagnostics for these components.
Key Components Influencing Voltage Levels
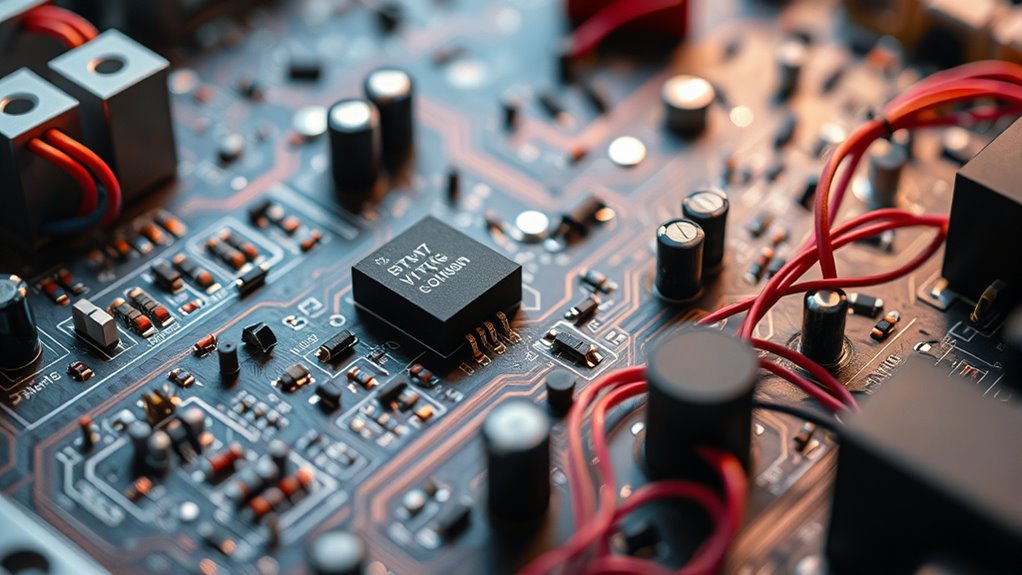
Understanding the key components that influence voltage levels is essential for diagnosing and preventing low voltage output issues. Your battery’s condition directly impacts voltage stability; poor battery maintenance can cause voltage drops, so make sure it’s charged and clean. Voltage conversion devices like transformers and inverters also play a crucial role; faulty or mismatched components can lead to inconsistent output. Wiring quality and connections matter too—loose or corroded contacts create resistance, lowering voltage. Power supplies must deliver consistent output, so check their capacity and regulation. Proper hydration and skin care can improve overall skin health, which is important when considering glycolic acid use for sensitive areas. By focusing on these components, you can identify potential causes of voltage fluctuations early, maintaining a steady, reliable power supply. Proper maintenance and understanding of voltage conversion principles empower you to troubleshoot effectively and prevent low voltage problems.
Diagnosing Voltage Drop in Circuits

To diagnose voltage drop issues, you need to identify where voltage sags occur in your circuit. Measure the resistance along different sections to spot any increases that could cause drops. This process helps you pinpoint the exact sources of low voltage output. Additionally, inspecting performance modifications such as ECU tuning or exhaust upgrades can reveal underlying issues affecting voltage stability.
Identifying Voltage Sags
Voltage sags, or drops in voltage levels, can disrupt equipment operation and signal potential issues in your electrical system. To identify these sags, watch for signs of voltage fluctuations during peak usage or when large appliances turn on. Sudden drops may be caused by power surges or overloaded circuits. Use a digital multimeter or a power quality analyzer to monitor voltage levels over time. Pay close attention to how voltage dips during specific operations or times of day. Consistent drops indicate a problem that needs addressing, such as loose connections or faulty wiring. Recognizing these signs early helps prevent damage to sensitive equipment and ensures your system functions reliably. Accurate identification of voltage sags is essential for diagnosing low voltage issues effectively. Additionally, understanding the causes of voltage drops can help you implement preventative measures to maintain stable electrical performance.
Measuring Circuit Resistance
When you notice persistent voltage drops even after fixing loose connections or overloaded circuits, resistance measurement is vital. High or uneven resistance causes voltage fluctuations, leading to low voltage output. To diagnose, use a multimeter to measure resistance across circuit components. If resistance readings are higher than expected, it indicates corrosion, damaged wiring, or poor connections. Perform resistance measurements at different points to identify trouble spots. Below is a helpful guide:
| Test Point | Expected Resistance | Actual Resistance |
|---|---|---|
| Power supply | Near zero ohms | Measure to confirm |
| Connectors | Low resistance | Check for corrosion or damage |
| Wiring | Consistent low resistance | Spot irregularities |
| Load points | Stable resistance | Detect faults |
| Ground connections | Near zero ohms | Ensure proper grounding |
A thorough understanding of circuit resistance can significantly improve troubleshooting accuracy.
Accurate resistance measurement helps eliminate causes of voltage fluctuations, restoring proper voltage levels.
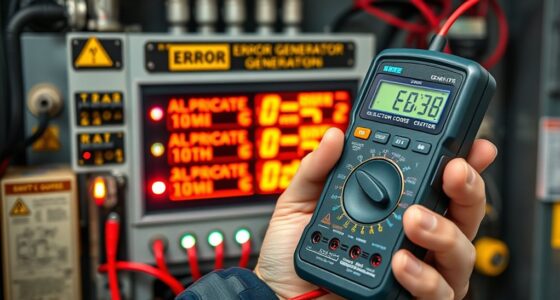
Tools and Techniques for Measuring Voltage

Accurately measuring low voltage output requires the right tools and techniques to guarantee reliable readings. Using proper testing instruments ensures your measurements are precise, especially when dealing with delicate signals. Start with a high-quality multimeter designed for low voltage testing, and always calibrate it regularly for voltage calibration accuracy. Use a digital multimeter with a high input impedance to prevent circuit loading. When taking measurements, keep connections clean and secure to avoid fluctuations. Consider using an oscilloscope for more detailed voltage waveforms. Remember, proper technique includes powering down circuits when possible and ensuring your test leads are in good condition. These methods help you achieve trustworthy results and diagnose low voltage issues effectively. Additionally, understanding the low voltage output causes can help you troubleshoot more efficiently.
Troubleshooting Strategies for Low Voltage Issues

Troubleshooting low voltage issues requires a systematic approach to identify the root cause quickly. Start by checking your battery maintenance; verify terminals are clean, connections are secure, and the battery isn’t aged or damaged. Poor battery health can cause voltage drops, so testing its capacity helps pinpoint if replacement is needed. Next, consider environmental factors—extremes in temperature, humidity, or exposure to moisture can affect voltage output. Keep equipment in a stable, controlled environment whenever possible. Also, inspect wiring for corrosion, loose connections, or damage that could hinder voltage flow. Regularly monitoring these aspects allows you to narrow down causes efficiently. By focusing on proper battery care and environmental conditions, you can troubleshoot low voltage issues more effectively and prevent future problems. Additionally, understanding maintenance and tips can help you implement preventive measures to sustain optimal voltage performance.
Preventive Measures to Maintain Proper Voltage
To guarantee your equipment maintains proper voltage levels, implementing regular preventive measures is essential. Focusing on voltage stability and circuit insulation helps prevent low voltage issues. Regularly check and tighten connections to avoid voltage drops caused by loose wiring. Inspect circuit insulation for wear or damage to prevent leaks that undermine voltage consistency. Use surge protectors and voltage regulators to maintain steady power supply. Keep electrical panels clean and dust-free to ensure reliable connections. Schedule routine maintenance to identify potential issues early. These steps help you sustain proper voltage, minimize equipment downtime, and extend lifespan. By proactively managing circuit insulation and voltage stability, you reduce the risk of low voltage problems and keep your system running smoothly.
Frequently Asked Questions
How Does Temperature Affect Low Voltage Output?
Temperature impacts low voltage output by causing thermal expansion in electrical components, which can lead to fluctuations in voltage stability. As temperatures rise, materials expand, potentially increasing resistance and reducing voltage output. Conversely, cooler temperatures help maintain consistent voltage levels. You should monitor temperature changes closely, as they directly influence the stability of your low voltage system, ensuring it operates efficiently and avoids unexpected drops or fluctuations.
Can Wiring Length Impact Voltage Levels?
Wiring length definitely impacts voltage levels, and if you don’t watch your wiring insulation and circuit design, you’ll find yourself chasing your tail. Longer wires create more resistance, leading to voltage drops that can cripple your low voltage output. Keep wiring as short as possible, use quality insulation, and plan your circuit design carefully. Otherwise, you’ll be in for a wild goose chase trying to fix voltage issues caused by simple wiring length.
Are There Specific Safety Precautions for Low Voltage Troubleshooting?
Yes, you should follow safety precautions like checking grounding issues to prevent shocks and guaranteeing proper insulation resistance before troubleshooting. Always turn off power before inspecting wiring, use insulated tools, and wear safety gear. Be cautious of grounding problems that can cause unexpected voltage spikes. Verifying insulation resistance helps prevent short circuits. These steps protect you from accidents and ensure a safe, effective troubleshooting process.
What Role Do Resistors Play in Voltage Regulation?
Resistors act like gatekeepers, controlling current flow to maintain steady voltage levels. You’ll find various resistor types, each suited for specific tasks. In voltage regulation, a resistor can be part of a voltage divider, which splits voltage into desired levels. By adjusting resistor values, you guarantee consistent voltage output, preventing fluctuations that could harm your circuit. Think of resistors as traffic controllers, guiding current smoothly through your system.
How Often Should Voltage Levels Be Checked for Maintenance?
You should check voltage levels regularly to guarantee voltage stability and ideal performance. Typically, perform maintenance checks at least once every three to six months, but adjust based on your system’s usage and environmental conditions. Frequent monitoring helps you identify potential issues early, preventing voltage drops or surges. Maintaining an appropriate maintenance frequency keeps your equipment running smoothly, reduces downtime, and prolongs its lifespan.
Conclusion
Mastering low voltage output isn’t just about fixing problems—it’s about understanding how your systems work. Did you know that nearly 60% of electrical failures are caused by voltage issues? By learning the causes, using the right tools, and applying troubleshooting strategies, you can keep your circuits running smoothly. Spend just a weekend, and you’ll gain the confidence to diagnose and prevent voltage drops, ensuring your projects stay powered and reliable.